I haven’t had an ice cream since I have been diagnosed with diabetes, so my craving for ice cream – especially in the heat of this summer – was off the charts. My husband and I decided to make our own ice cream. A bit of background: in his younger years, my husband created an industrial ice cream formulation that involved the innovative move of using a blend of high fructose and high maltose syrup. That was a big deal at the time, although he never got the proper recognition for it.
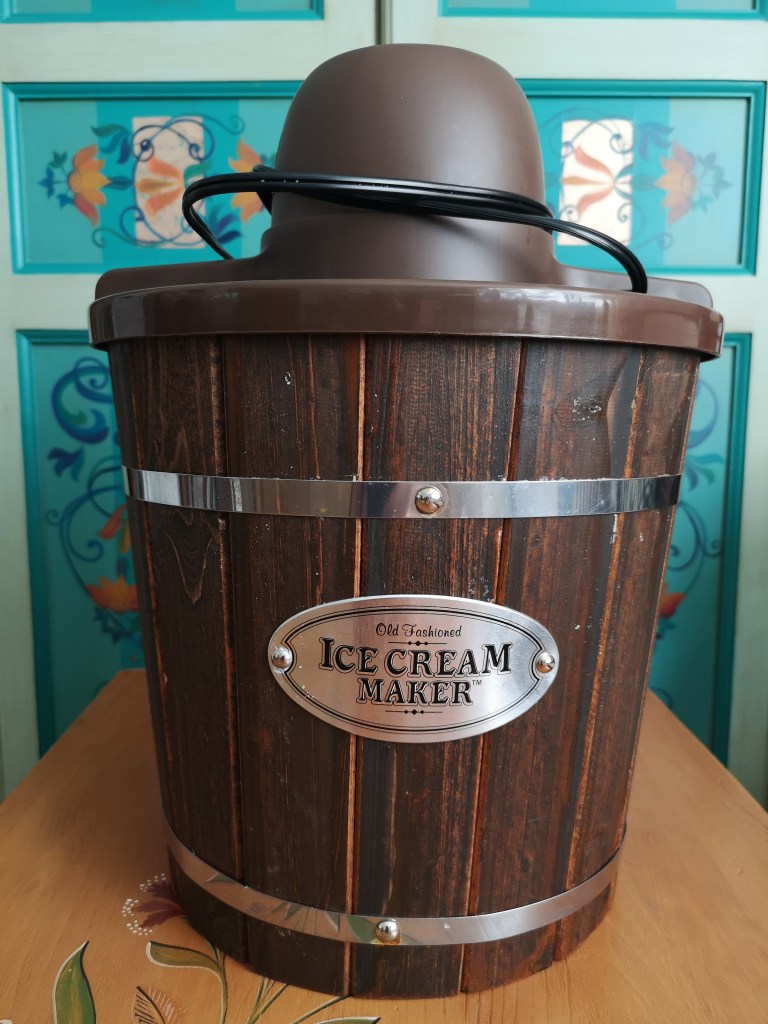
We have split the tasks: I have researched the ways in which a potential mixture can be frozen, while my husband considered the recipe(s). In the beginning we considered a KitchenAid ice cream bowl attachment. Then I discovered a Clifford Endo video on YouTube (thanks guys, this was a great help!) comparing three different devices. It turned out that the classic churning bucket gave the best result, so that is exactly what we acquired: the Nostalgia Old Fashion Ice Cream Maker. It works exactly as shown in the video in the above link, with ice and salt layered inside the bucket, around the ice cream canister. Please watch the video, I couldn’t explain it any better. We are both very happy with this machine.
The mixture got worked out too and it can be used for creating ice creams with different flavors.
More experiments will follow (we didn’t get around to sorbets for example), probably next summer, as it is getting too cold for frozen desert cravings.
Ingredients:
- 3 cups butternut squash – peeled, cubed (~3/4″ size pieces)
- 300-400 ml whipping cream
- 2 cups of milk
- 5 whole eggs
- 5 tablespoons of xylitol
- pumpkin pie spice mix (or vanilla beans, or cocoa or other flavoring)
Method:
- cook the squash in the microwave oven and let cool
- cook the five whole eggs with the xylitol and pumpkin pie spice over steam (in a double boiler or bain-marie) while whisking or beating with a hand mixer until you achieve a thick creamy consistency. Don’t overcook [like I do sometimes]. Let cool.
- puree the squash with an immersion blender and add the cream and milk gradually till the mixture is totally smooth and without lumps
- gently fold together the squash and egg mixtures
- pour the new mixture in the canister and follow the instructions that came with your device (or the steps shown in the video).
- when the churning stops on it’s own (the mixture is too frozen for the machine to be able to move it around any more) unplug the machine and transfer the ice cream into your preferred containers and place them in the freezer (the equivalent of the hardening room from the factory).
Serving
The ice cream will always be too hard when fresh out of the freezer. This is because we can not control the freezing/ churning process as closely as one would be able to do in an industrial facility (like for example Ben&Jerry’s factory which we visited some years ago). Therefore, before enjoying a good scoop of home made guilt free ice cream, the ice cream needs to thaw for a short amount of time, till it’s just soft enough to be scooped out.

A word of caution (it seems I keep coming up with these all the time): even though the ice cream is sugar free – being made with xylitol – it still needs portion control because of the carbohydrate content of the pumpkin.
Last but not least, please remember, this is what I do! Please always do your own research and draw your own conclusions! Feel free to invent something better and share it with us in the comments section. Let’s be creative together!
Good luck to All and keep your glucose levels down!
